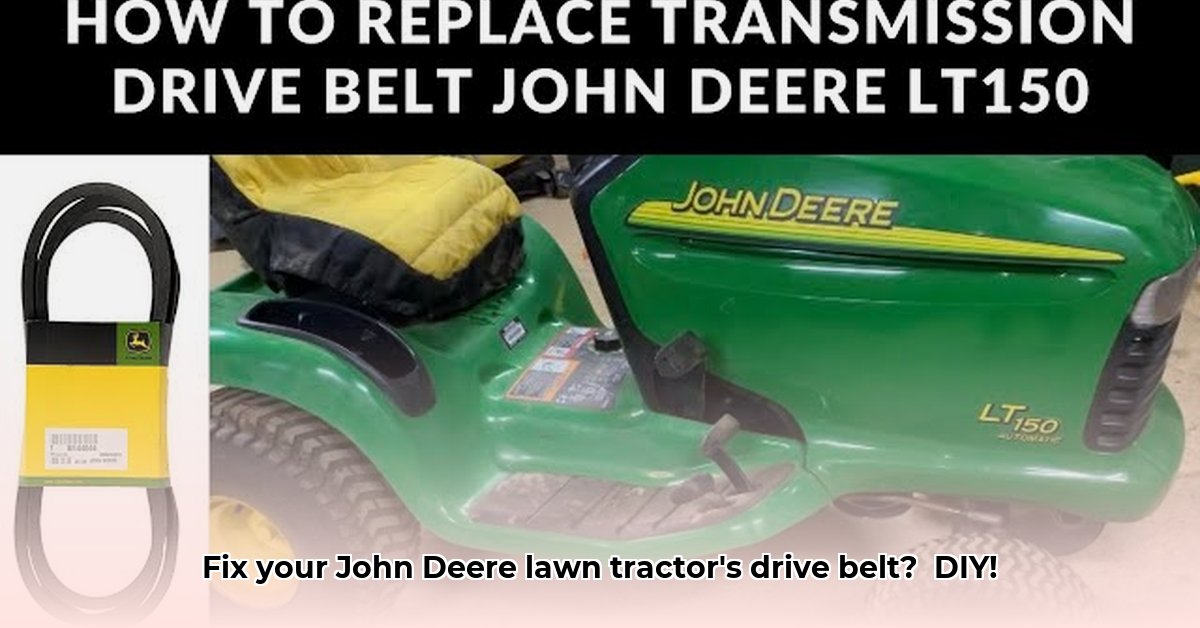
Getting Started: Why Replace Your Drive Belt?
Is your John Deere lawn tractor struggling to maintain its usual mowing power? A worn drive belt is a common culprit. A failing belt leads to reduced performance, increased strain on other components, and potential for more costly repairs down the line. Replacing the belt is a straightforward DIY task that can significantly improve your tractor's efficiency and longevity. This guide provides step-by-step instructions to get your tractor back to peak performance. For further troubleshooting, check out this helpful resource on fuel pump issues: Troubleshooting Fuel Pumps.
Tools and Materials: Gathering Your Arsenal
Before you begin, gather the necessary tools and materials to ensure a smooth and efficient repair. Having everything ready to go will make the job much easier.
- Correct Replacement Belt: This is paramount! Use the exact part number specified in your John Deere owner's manual. 1 Using the wrong belt can cause damage to your tractor.
- Socket Wrench Set (Metric): The sizes needed will vary depending on your tractor model. Consult your owner's manual for specifics.
- Screwdrivers (Phillips and Flathead): You'll likely need both types.
- Pliers (Needle-Nose Recommended): Helpful for maneuvering the belt.
- Work Gloves: Protect your hands from grease and potential cuts.
- Safety Glasses: Eye protection is crucial to prevent injury from flying debris.
- Jack and Jack Stands (Recommended): These provide better access and stability, increasing safety.
- Owner's Manual: Your essential guide for model-specific instructions and diagrams.
Safety First: Prioritizing Your Well-Being
Safety is paramount. Always disconnect the spark plug wire before beginning any work on the engine. This prevents accidental starts that could lead to serious injury. Wear safety glasses and gloves throughout the entire process. Remember, a little extra caution goes a long way.
Step-by-Step Belt Replacement: A Detailed Guide
This section contains general instructions. Always refer to your owner's manual for model-specific details and diagrams. Taking photos as you disassemble components is highly recommended.
Preparation: Park your tractor on a level surface and firmly engage the parking brake. Disconnect the spark plug wire and secure it to prevent accidental starting.
Access the Belt: Locate the drive belt. This usually involves removing some covers or components. Your owner's manual will provide precise instructions and diagrams for your specific model.
Release Belt Tension: Most John Deere tractors utilize a belt tensioner. Use the appropriate wrench to loosen the tensioner, allowing for belt removal. Refer to your owner's manual for the location and correct procedure.
Remove the Old Belt: Carefully remove the old, worn belt. Note its routing; this is essential for correct reinstallation. Use your photos as a guide.
Install the New Belt: Carefully guide the new belt onto the pulleys, following the same path as the old belt. Ensure it’s properly seated within all the grooves.
Re-tension the Belt: Tighten the tensioner bolt to the manufacturer's specifications, as stated in your owner's manual. The belt should be snug but not overly tight.
Reassembly: Reinstall any covers or components you removed earlier. Double-check that everything is securely fastened.
Testing: Reconnect the spark plug wire. Start the engine and observe the belt's operation. Make sure it’s running smoothly and not slipping. Listen for any unusual noises.
Troubleshooting: Addressing Common Problems
Even with careful attention, some issues may arise. Here's a quick guide to common problems and solutions:
- Belt Slipping: This is typically due to loose tension, worn pulleys, or a greasy belt. Check tension, clean pulleys, and consider replacement if necessary.
- Belt Routing Issues: If the belt isn't routing correctly, carefully consult your owner's manual diagram. Take your time and double-check each pulley.
- Belt Breakage: This usually indicates excessive wear or over-tensioning. Replace the belt immediately.
Maintaining Your Tractor: Preventative Measures
Regular belt inspections are essential for preventing unexpected breakdowns. Frequent checks can help identify potential issues early, avoiding major repairs. Think of it as a small investment in your tractor's longevity and performance.
Remember: This guide provides general steps. Your John Deere owner's manual contains model-specific instructions and diagrams. Always consult your owner's manual for the most accurate and detailed information.